Quick Start
Follow the quickest path to upload your first photo, sign in, start an AI geolocation analysis, and review predicted locations with map-based reasoning.
Use this guide to run your first photo location analysis.
1. Open the App
Go to the ImageToLocation home page and choose Upload Photo. You can also open Dashboard from the header after signing in.
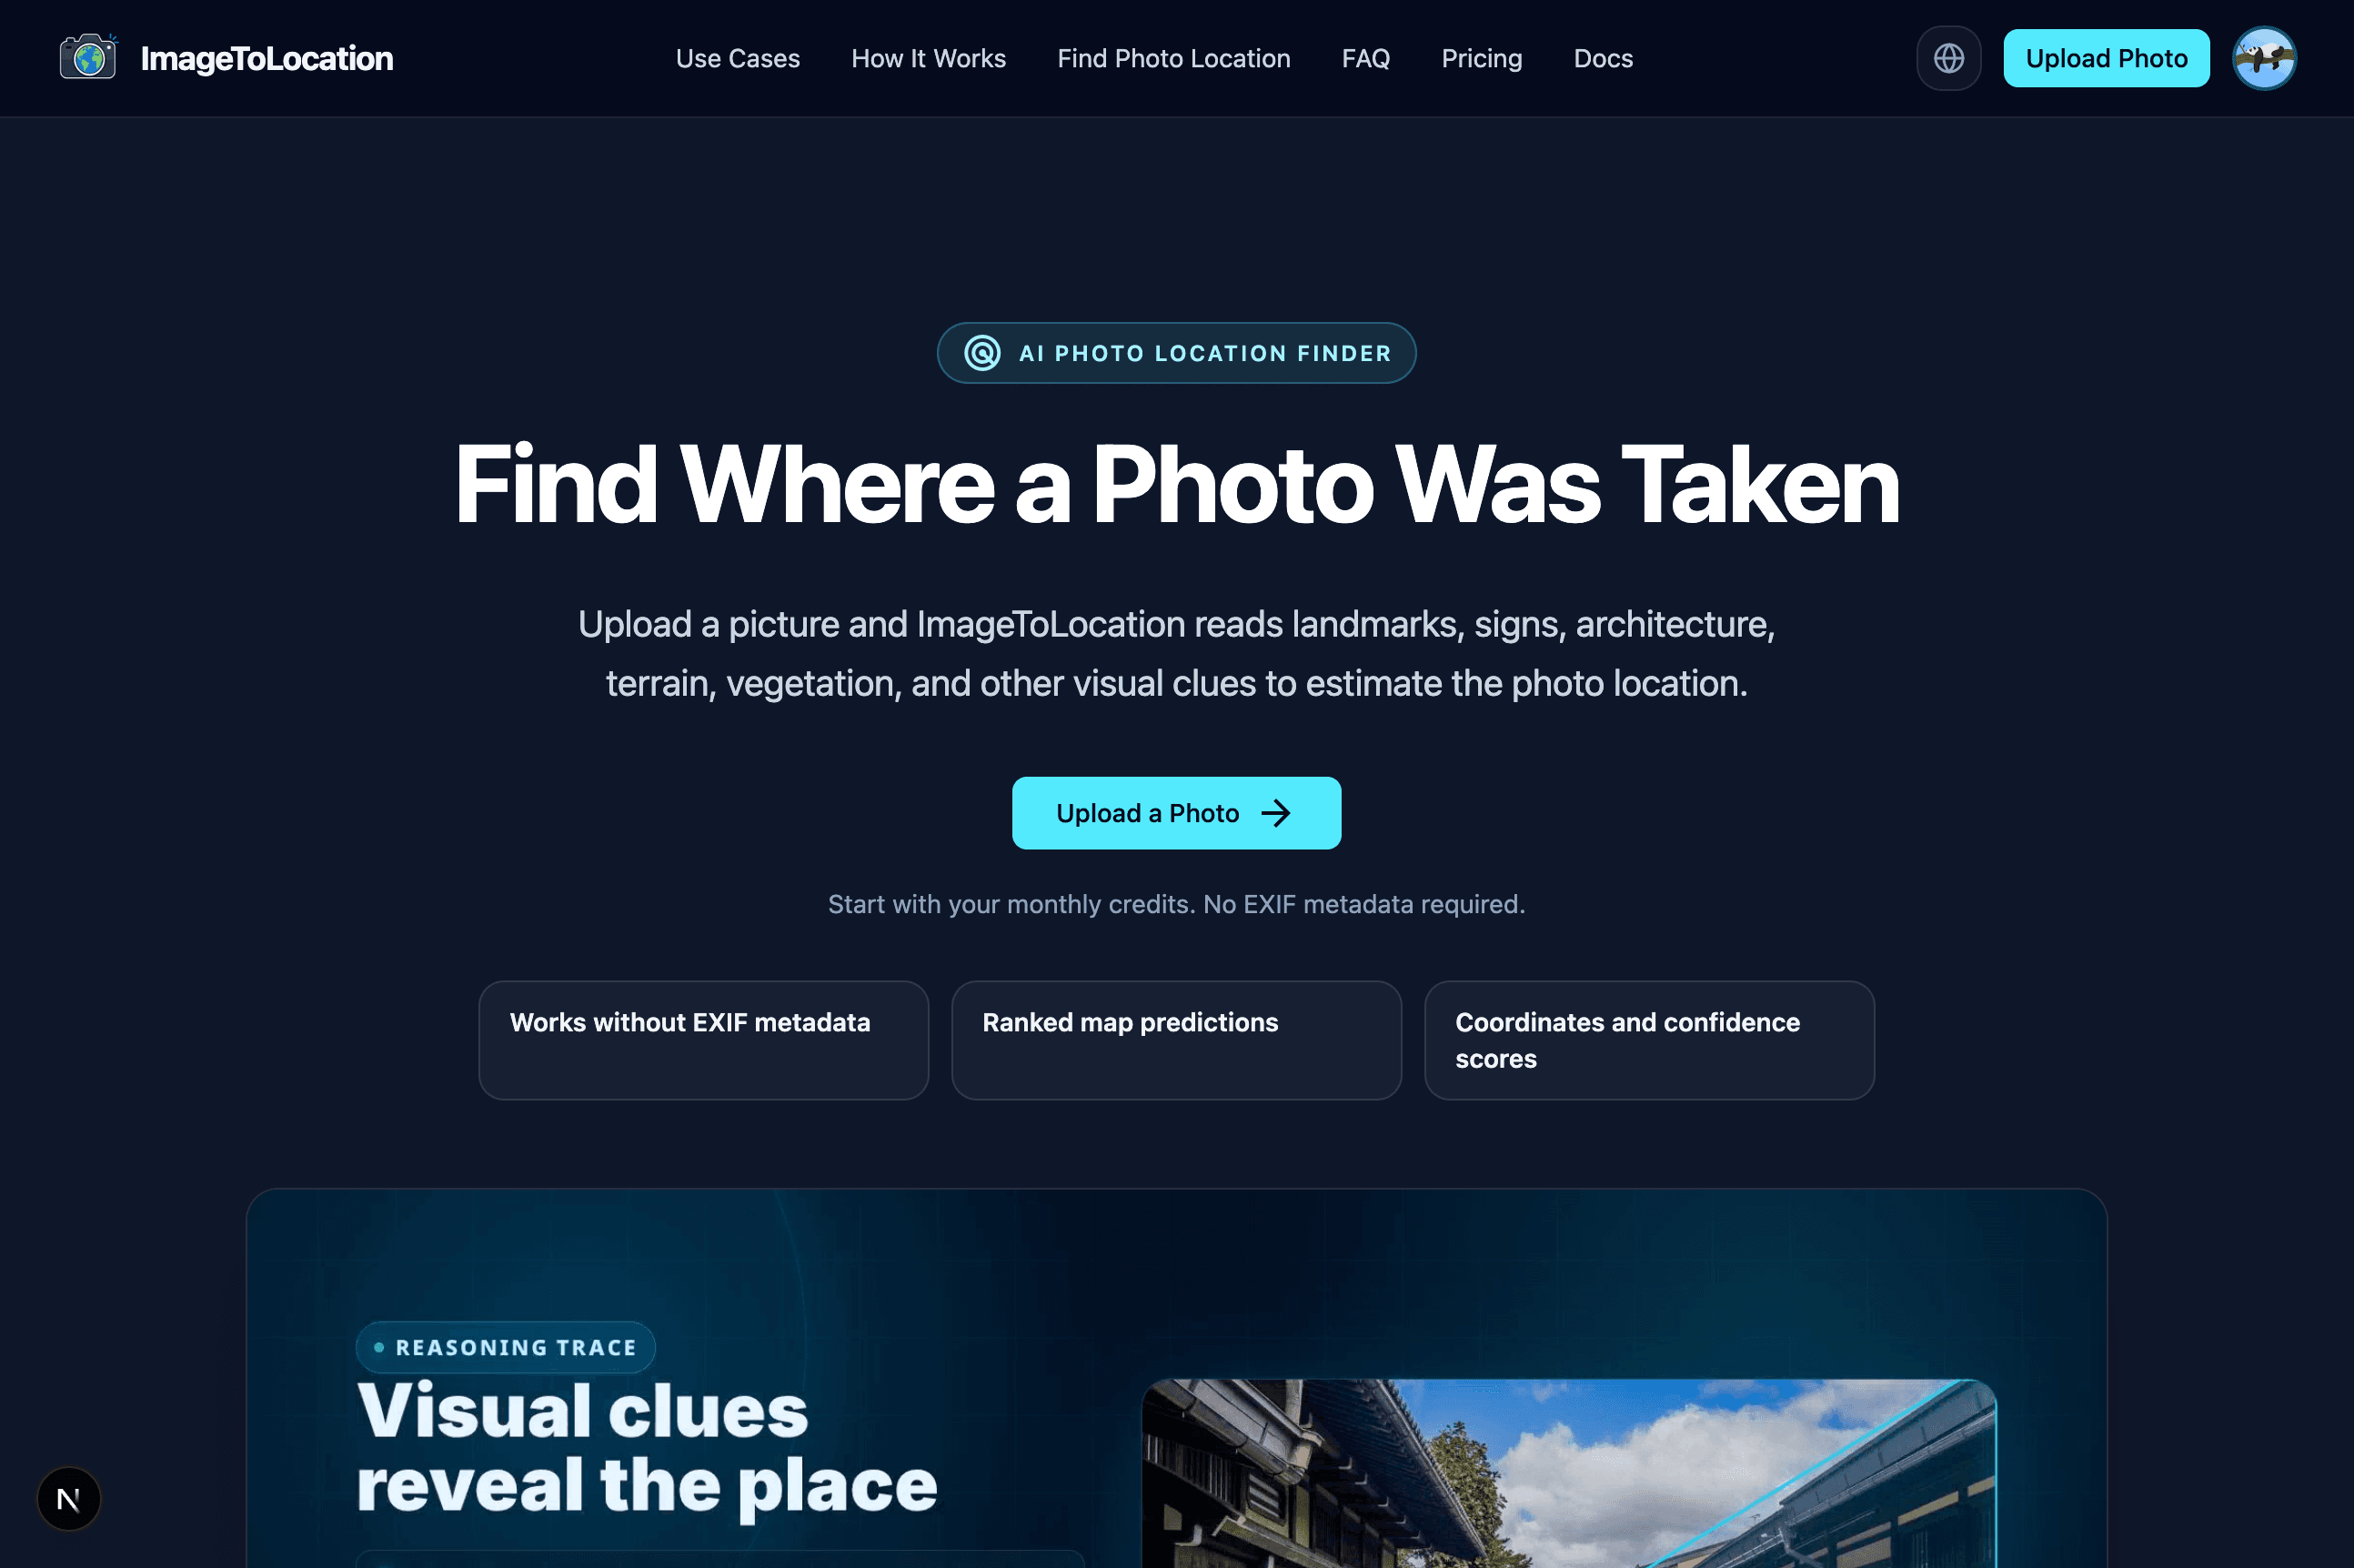
2. Sign In
If you are not already signed in, choose the sign-in option and continue with Google. Signing in connects your analyses to your account so you can return to previous results later.
3. Upload an Image
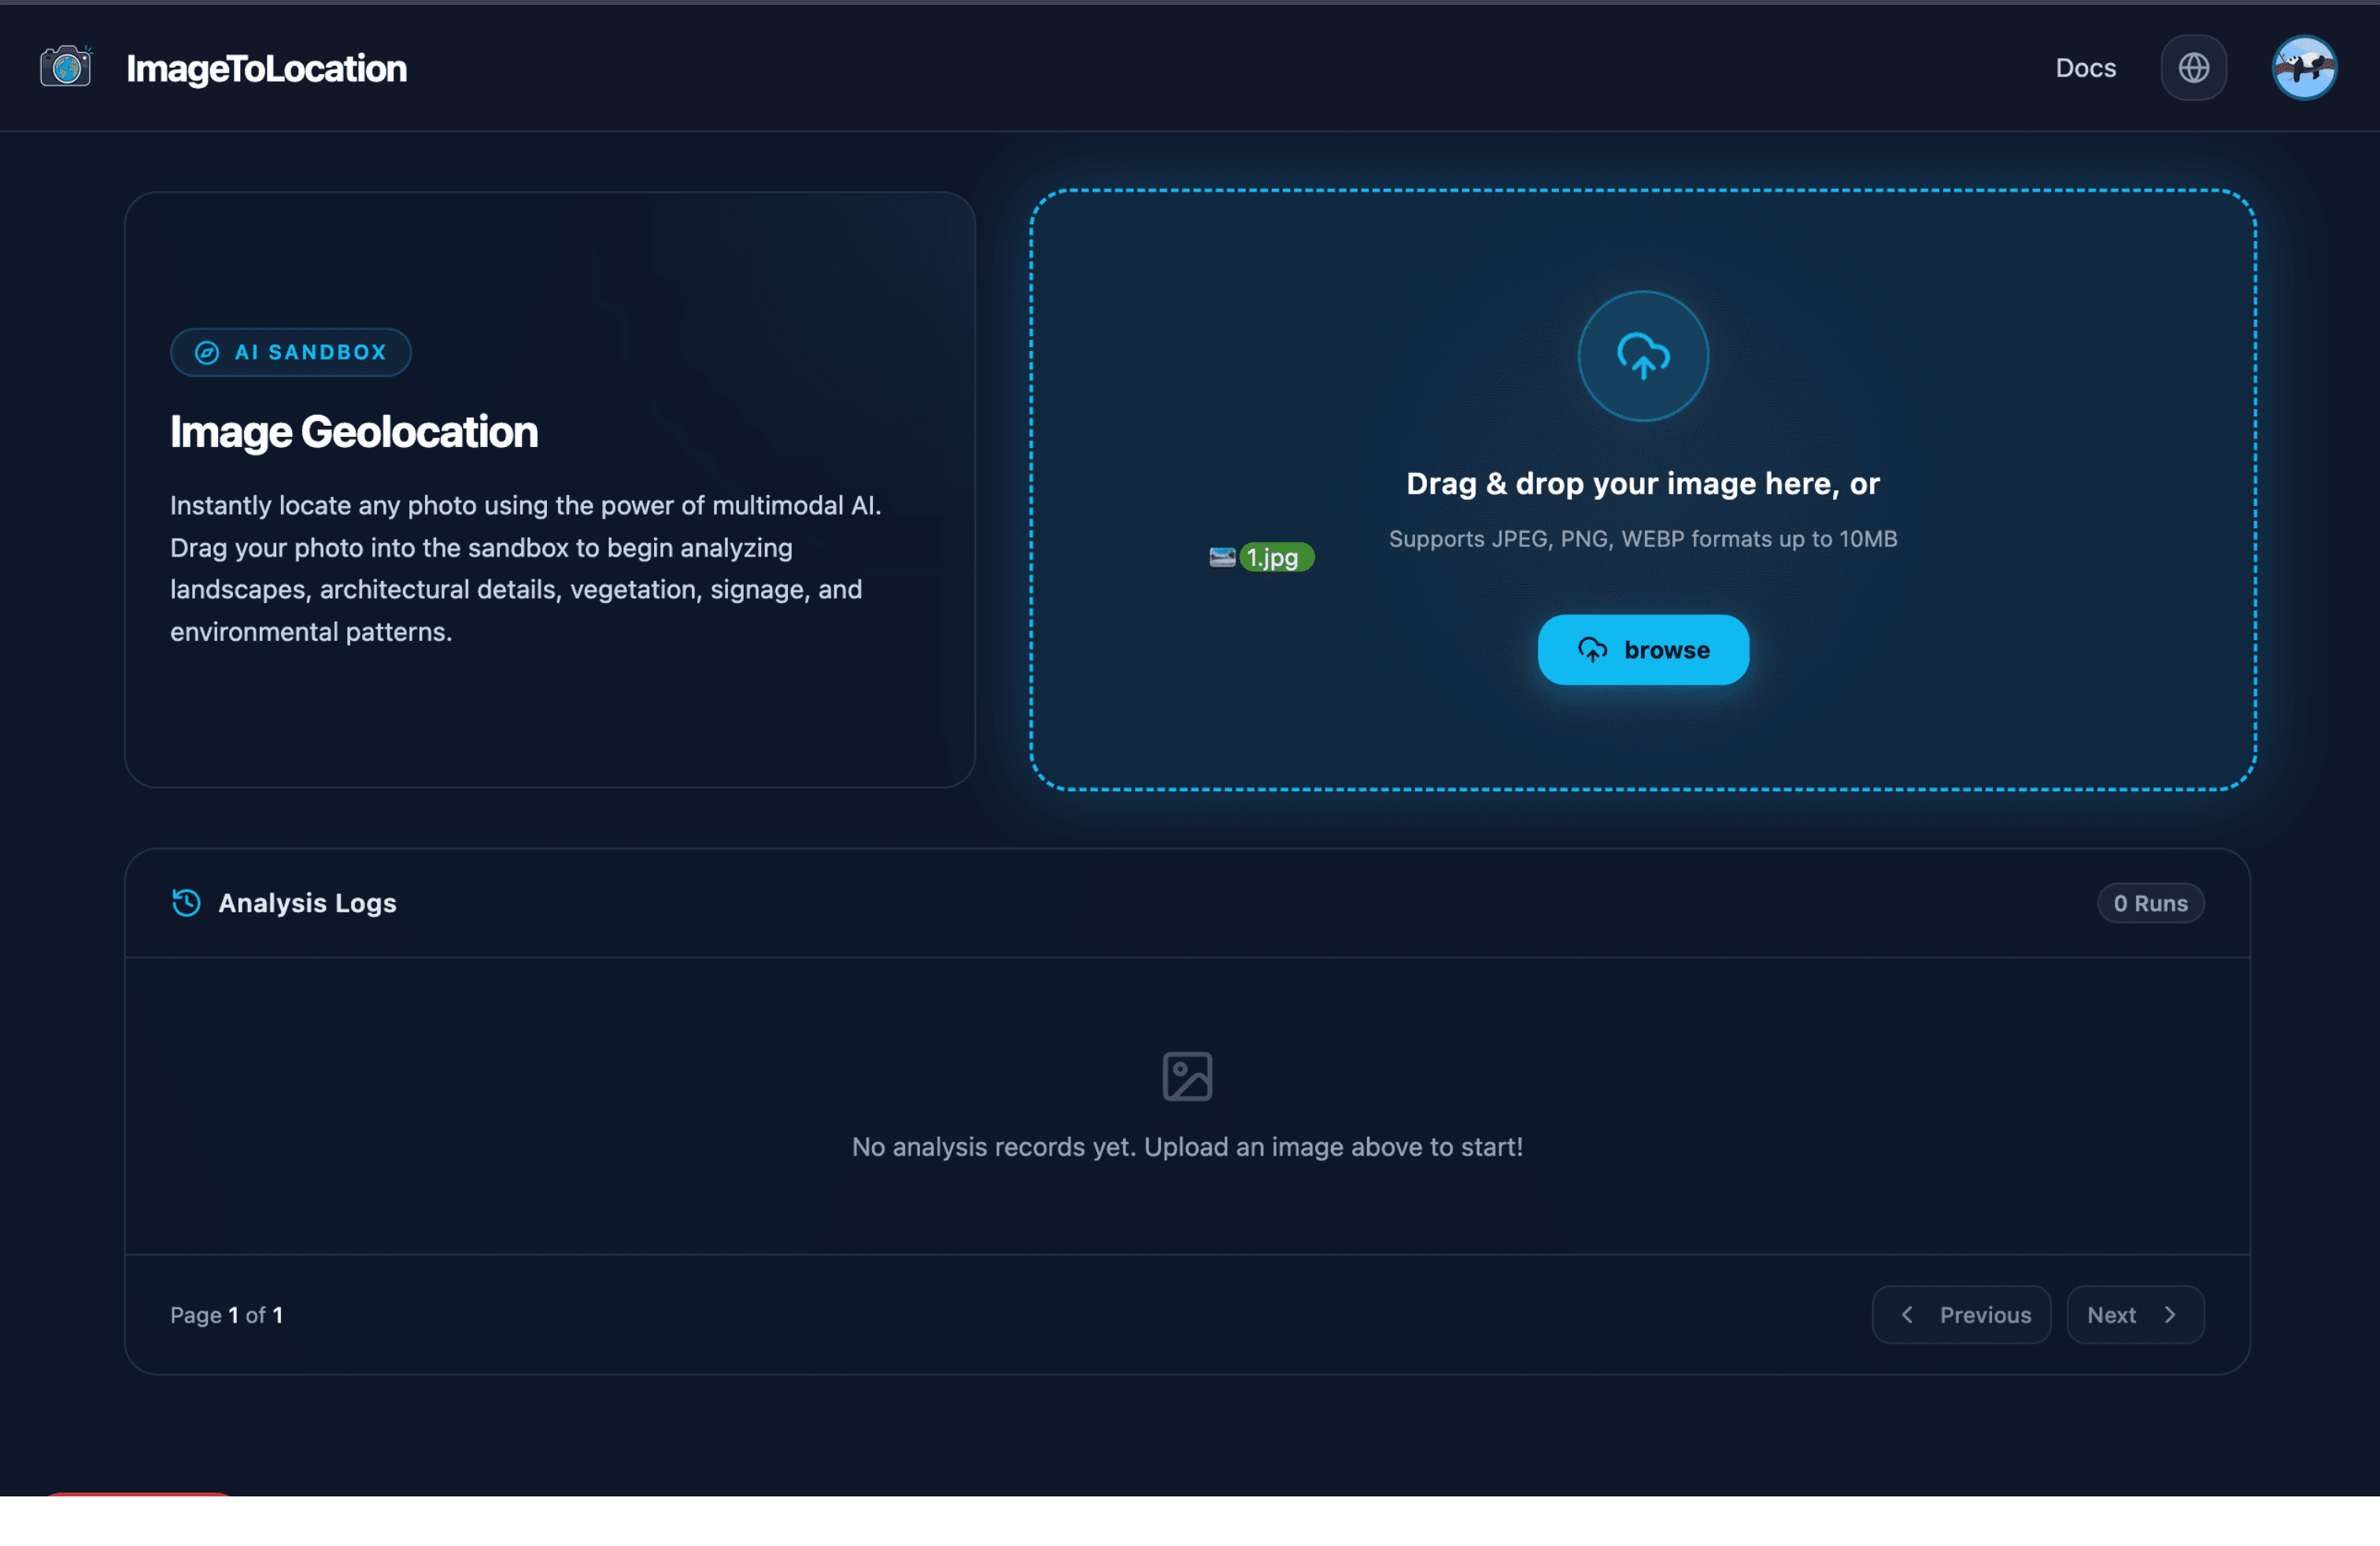
After sign-in, ImageToLocation opens the dashboard. Use the AI Sandbox upload area to drag and drop a photo, or select browse to choose a file from your device. ImageToLocation accepts JPEG, PNG, and WebP images up to 10MB.
After you choose a file, the upload area shows the selected filename while the app creates a new analysis record.
4. Wait for Analysis
When the upload starts, the app opens the analysis detail page automatically. While the image is processing, the page refreshes automatically. Most analyses show progress for a short time before results appear.
The AI looks for clues such as:
- Buildings, architecture, and street layout
- Signs, language, storefronts, and road markings
- Terrain, climate, vegetation, and coastlines
- Vehicles, infrastructure, utilities, and public objects
- Visible landmarks or place-specific visual patterns
5. Review the Result
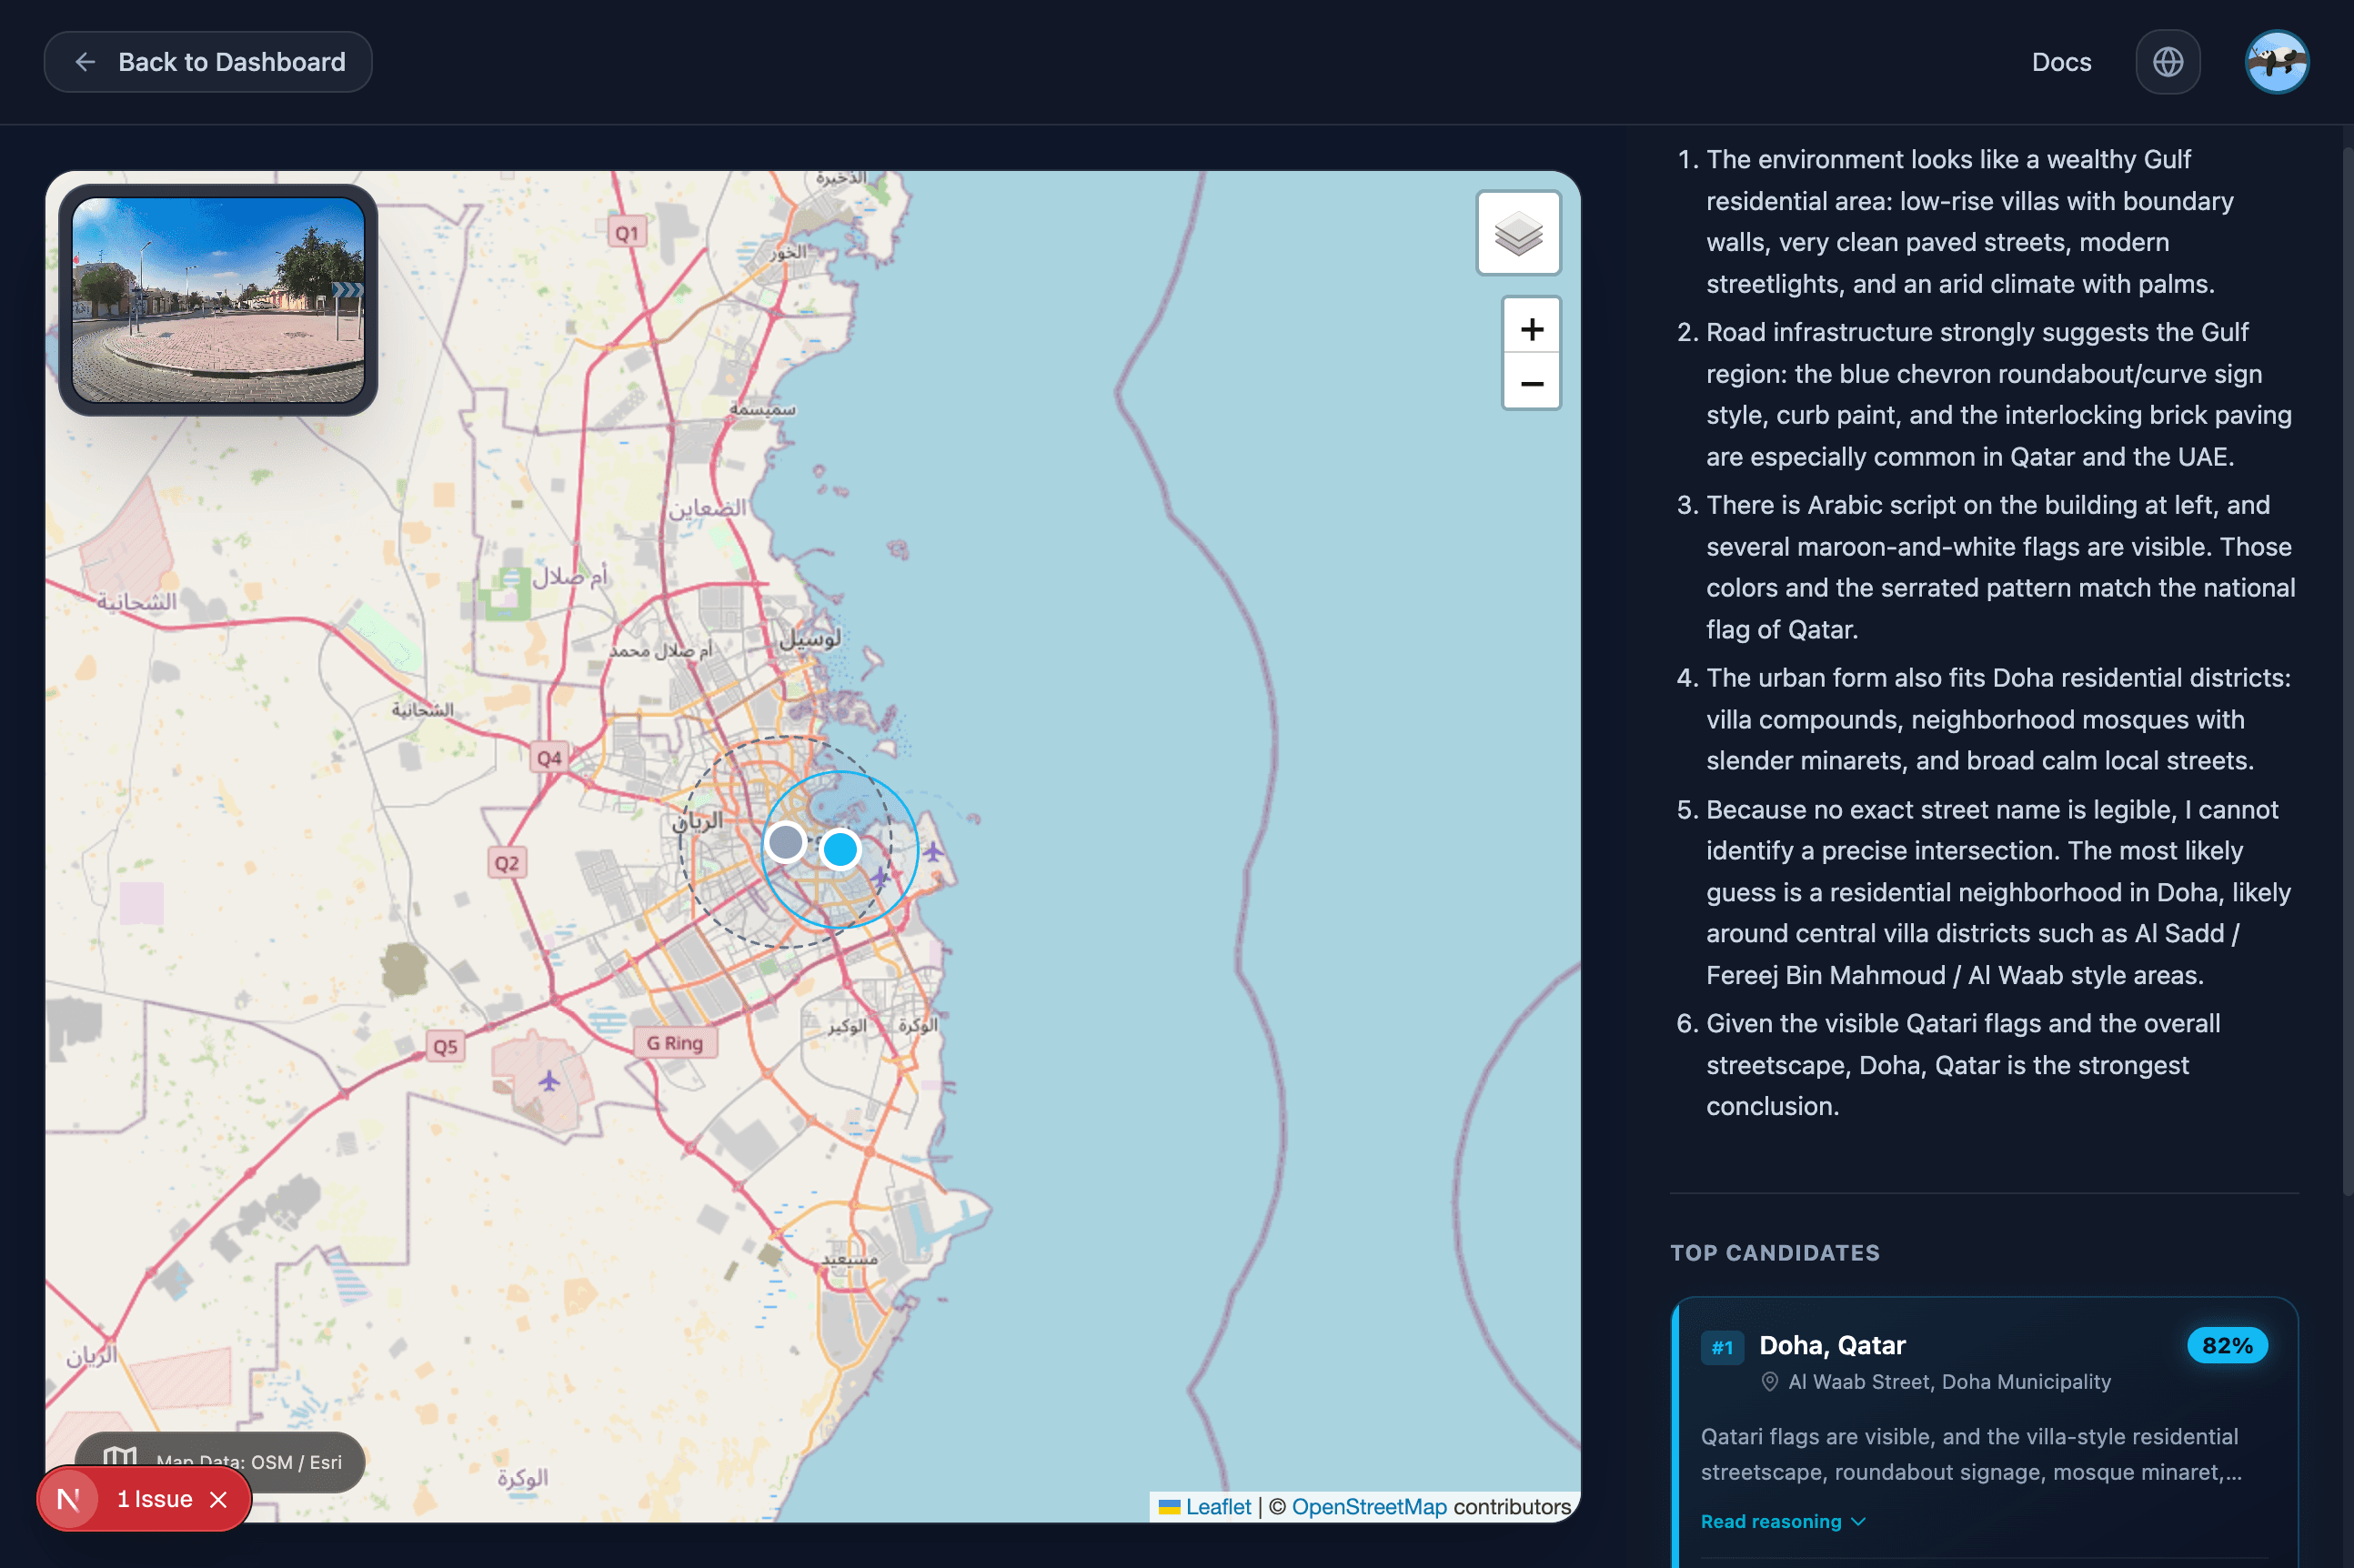
When complete, the result page shows a map and a right-side analysis panel. Review:
- The highlighted map area and candidate pins
- The uploaded image thumbnail for context
- Written reasoning that explains the visible evidence
- Top candidate cards and confidence scores
- Location details that you can compare against the map
6. Return Later
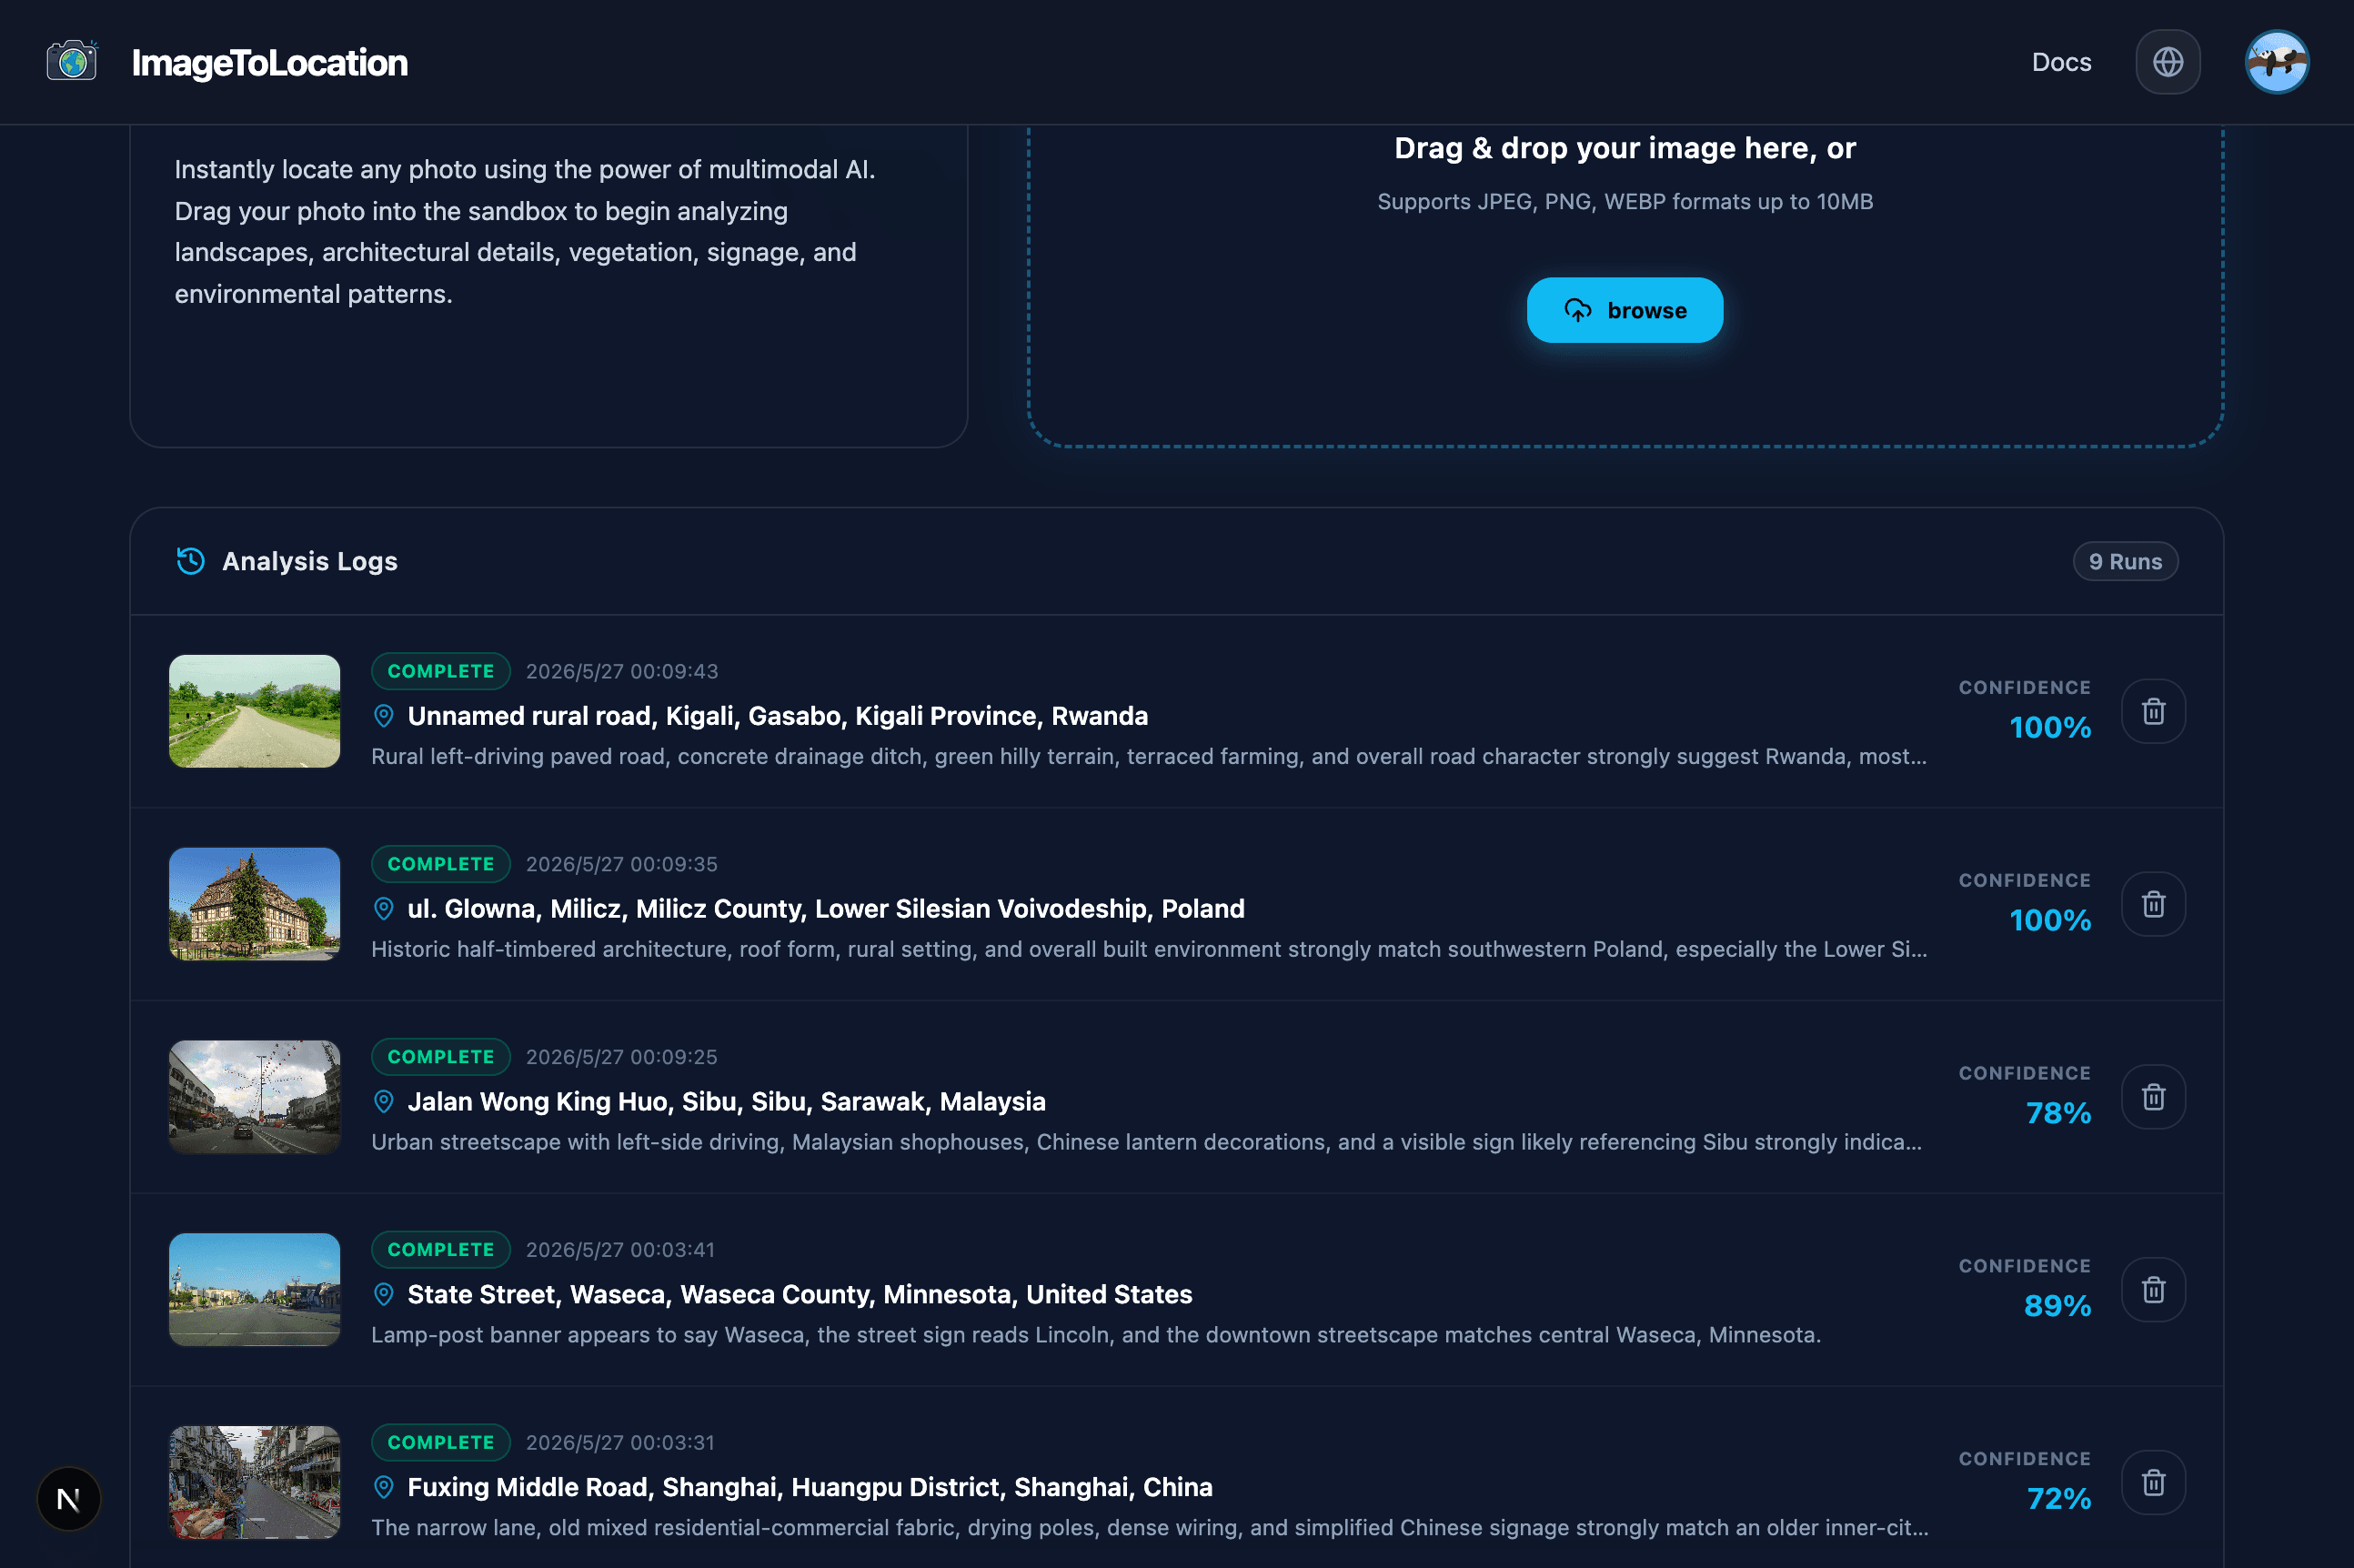
Open Dashboard to return to Analysis Logs. Each record includes its status, timestamp, top candidate, short reasoning preview, and confidence score.
Quick Checklist
- Use a photo with visible outdoor context when possible.
- Avoid screenshots, heavily cropped photos, or images with no environmental clues.
- Treat the top location as a lead, then compare the reasoning and map candidates.
- Use the pricing page if you need a higher monthly analysis allowance.